How To Remodel Bathroom Mirror Areas
Outside of installing new cabinets and counters, you may be surprised at how simple it is to remodel bathroom mirror areas. First off, if you have an excessively large wall mirror, consider hiring a professional to remove it for you. This tutorial is geared toward teaching you how to remove small to medium size wall mirrors, not dangerously large ones.
The cost of hiring someone who knows what they are doing will be a lot less than an emergency room visit. Use common sense when deciding if you are going to try this DYI project yourself.
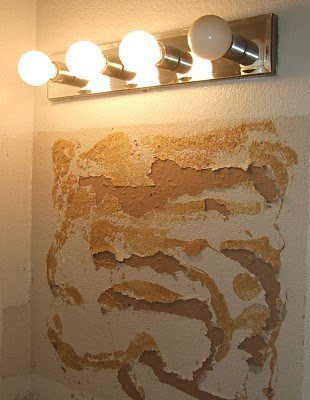
There are two methods used for securing the reflective glass to the wall. One is accomplished through using liquid nail adhesive on the back of the mirror (refer to photo). The other method used for holding mirrors on the wall is the clip method.
If you do not see any clips or track holding the glass in place, then the chances are pretty good that it is held in place with liquid nail adhesive.
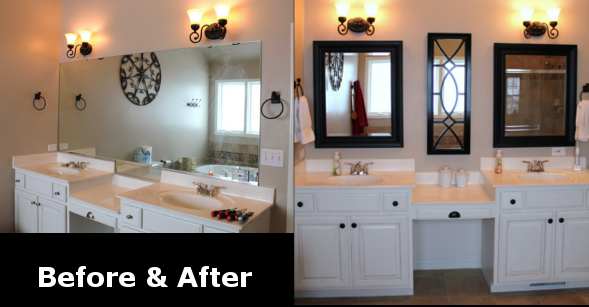
The inspiration for this post came after I read an article at the Sawdust and Paper Scraps blog. That is where the images came from on our page. In the article she explains that the large bathroom mirror (Liquid Nailed to the wall) was removed by using a pry bar. It took two people to handle the first stage of the bathroom remodeling project because the mirror was so big.
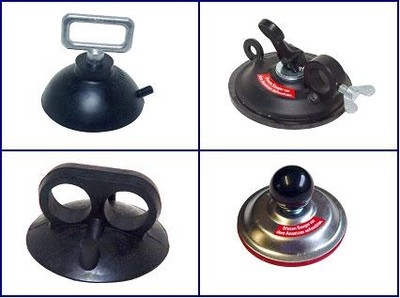
If a professional glass company had been removing the mirror, they would have used suction cups. This is the proper way to pursued a large section of glass, glued to the wall, to release from the glue bond. Most of the time the drywall paper peels off as pressure is applied to the mirror.
For more information on this topic can refer to this article: removing glued on wall mirrors.
- Important: Prior to attempting the removal process, you must suit up with gloves, eye protection and several layers of protective clothing. Falling glass can be a nightmare, DON’T take any chances.
To take a mirror off of the wall that has clips, you may need to just push the retainers upward. Once the spring-loaded retainer clips are up far enough, the mirror can be leaned forward to free it from the restraining clips. Sometimes a screwdriver works well for pushing the clips up and out of the way.
Once it is free at the top, you will have to lift or slide the mirror away from the other clips that are holding the bottom secure.
After the bathroom mirror is off of the wall, take off all of the hardware from the wall. You will also need to scrap off any liquid nail build-up with a putty knife.
 Patch all of the damaged areas with wall patch or Spackle paste. Allow the filler to completely dry and then sand the areas with a foam sanding block.
If you need to add a special texture to the walls, like orange peel or knock down, your local hardware store should have small aerosol cans of wall texture components. These are rather easy to use. You should try using the product on a practice piece of wood or drywall first.
Mask off all areas that need to be safe from paint droppings. Prime and paint the wall.
Hang your new decorative bathroom wall mirrors perfectly centered over the sink cabinets and you are finished. If you are remodeling a rather old bathroom area, I would replace the lighting fixtures over the mirror area too.
Video On How To Hang Decorative Mirrors In A Bathroom
As you can tell by the photos, remodeling a bathroom mirror area can really transform the look of an old looking bathroom into a contemporary masterpiece. This type of remodeling project shouldn’t be too expensive if you are not replacing the cabinets and counter top at the same time.


